

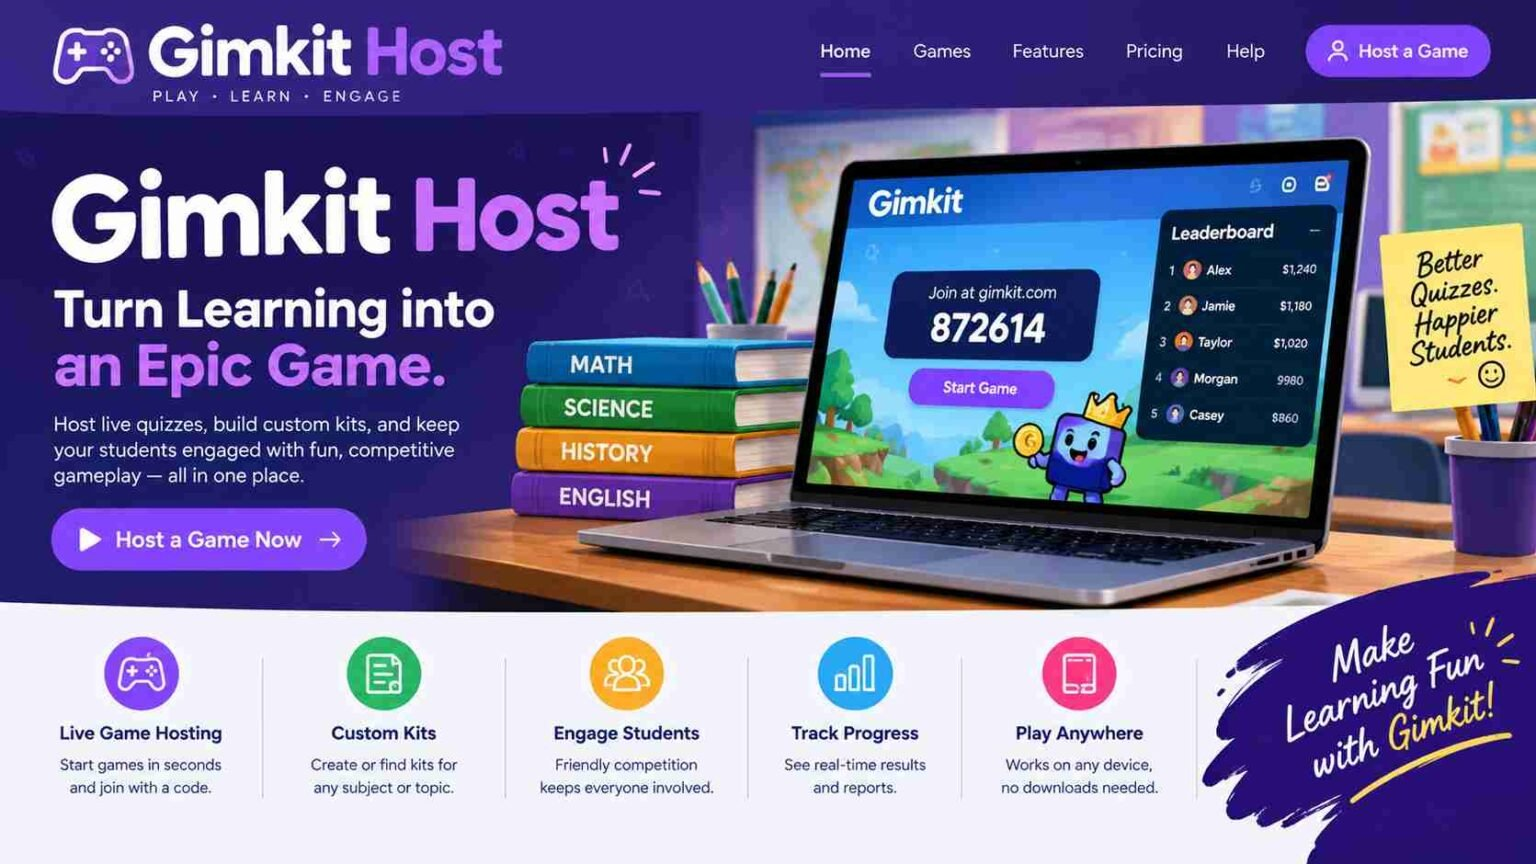
A Gimkit host is the teacher or organizer who runs a live Gimkit game. To host one, you pick a kit (your question set), click Play Live, choose a game mode, set the game options, and share the game code, QR code or join link. Students then join at gimkit.com/join, and you press Start Game once the lobby fills up.
That is the short version. The longer version matters, because the details decide how smoothly a lesson runs: how many players a game can hold, which modes you can use for free, what the host controls do, and where the results go afterwards. This guide walks through the full process using Gimkit’s own help center as the main source, and it flags where other websites give different numbers.
What Does “Gimkit Host” Mean?
“Gimkit host” is not a separate app or product. It describes a role. The host is the person who selects the kit, picks the mode, configures the rules and controls the session while players answer questions on their own devices. In most classrooms that is the teacher, but a tutor, club leader or trainer can do the same thing.
Searchers often confuse hosting with joining. The two are different tasks. Hosting starts from the host’s dashboard and produces a game code. Joining starts at gimkit.com/join, where players type that code. Gimkit’s help center confirms that students who join without a Class visit that address and enter the game code, so they do not need to do anything else to get in.
How to Host a Gimkit Game Step by Step
According to Gimkit’s “Host a live game” help article (last updated 19 May 2026), hosting comes down to five actions: select a kit, select a game mode, set up game options, share your game code or join link, and start the game. Here is what each stage looks like in practice.
1. Choose a kit and click Play Live
From your dashboard, click the green Play Live button next to any of your kits, or click Play Live from the right-hand pane inside a kit. A kit is simply the set of questions that powers the game. You need an educator account to build kits, and Gimkit’s free educator plan is enough to host.
2. Pick a game mode in the Mode Picker
The Mode Picker lets you browse every available mode. Select one and click Learn More to read how it plays. Gimkit also gives modes descriptive labels, and its help center gives the example of choosing modes labelled Calming, Strategic and Collaborative when you want a quieter lesson that still rewards teamwork. When you have chosen, click Continue in the upper right corner.
3. Set your game options
The options screen is where you shape the session. Every mode shares a set of standard options: game goals (time, cash, investigations, difficulty level or number of questions answered), connecting a Class, allowing students to join late, and the Nickname Generator, which disappears if you use Classes. Each mode adds its own settings on top. Click Continue again to open the lobby.
4. Share the game code, QR code or link
The lobby tab shows your game code. Hovering over the code brings up a QR code that students can scan. Clicking the code copies a direct link you can paste into a chat or learning platform. If you use Classes, students can visit gimkit.com/join and enter your game instantly. A related feature, Instant-join, lets students on a class with student accounts go to gimkit.com/play and join without typing a code or name, according to a help article last updated in November 2022.
5. Start the game and manage it
Click Start Game when everyone is in. The button sits in the lower centre for 2D games and the upper right for non-2D games. In the upper right corner you will find a control panel for music and sound effects, the leaderboard, a player list and the End Game button. Games end when the goal is reached, usually a time limit for 2D modes, or when you end them early. Clicking the timer adds one minute, and a game can run no longer than 59 minutes.
Game Modes: 2D and Non-2D
Gimkit splits its modes into traditional and 2D. In 2D modes, students move characters called Gims around a map; Gimkit’s help center lists Snowbrawl, Snowy Survival, One Way Out, Don’t Look Down and Blastball among them, and also refers to Fishtopia, Tag: Domination, Capture The Flag and Farmchain. The list changes over time, so treat any article’s roster, including this one, as a snapshot and check the Mode Picker for the current lineup.
The difference matters to a host in a few ways. In 2D modes you can join the lobby as a player or as a spectator. In non-2D modes you get a leaderboard screen you can cast to the room, and you can use Quick Actions, which are host actions that affect players, opened by clicking a player’s name on the leaderboard. Quick Actions are not available in Team Mode.
2D modes also let you adjust game balance. Gimkit’s help center says you can change, for example, how many snowballs players earn per correct answer in Snowbrawl or how much bait they earn in Fishtopia. If students are racing through gameplay without enough learning, lowering the reward per question is the suggested fix.
How Many Players Can Join a Gimkit Game?
This is where sources disagree, so it deserves care. Gimkit’s official Player Maximums article states a hard limit of 500 students for a live game and a separate limit of 60 students for all 2D modes. It also says Pro Exclusive modes are limited to 5 players for Gimkit Basic users, and that anyone hosting from a student login can have at most 5 players.
That official page carries an “updated” date of 25 January 2023, which is old, so it is worth confirming the figures inside your account before a large session. Some third-party sites quote a different cap of 250 players. We could not find that figure on Gimkit’s own pages, so it should not be treated as confirmed.
Gimkit Basic vs Gimkit Pro for Hosts
Gimkit’s Pro FAQ (updated 20 May 2026) describes the free plan as Gimkit Basic. On Basic you can play featured modes with as many students as you want, set up Classes and collect reports. The catch is mode access: Gimkit says there are generally three free modes at any one time, and they rotate. Pro unlocks every mode, plus Assignments (kits students play individually as homework), image uploads and audio on questions.
Gimkit lists two paid plans: Pro annual at $59.88 billed once a year, and Pro monthly at $14.99. The company says annual works out cheaper if you use Gimkit for four or more months out of twelve. For schools, Gimkit Groups offers a Department level at $650 per year for up to 20 teachers and a School level at $1,000 per year for the whole school. Secondary sites report a 14-day free Pro trial for new educator accounts, but that detail was not on the FAQ page we checked, so confirm it when you sign up. Prices can vary by region and change over time.
The practical question is whether your lesson depends on a Pro-only mode or on Assignments. If not, Basic is enough for live hosting.
Host Controls That Keep a Session Under Control
Classroom reality is messy, and Gimkit gives hosts several tools to deal with it:
- Remove a player. You can remove someone at any time, for example if the wrong person joins or a name is inappropriate. In the lobby, hover over the name and click it.
- Nickname Generator. When switched on, students cannot enter their own names and are given a random, safe one instead.
- Join in late. New players can join in progress by default. Gimkit suggests turning it off if late arrivals are disrupting the game.
- Team options. Gimkit suggests team settings if some students are not keeping up.
- End Game and extra time. End a game early from the control panel, or click the timer to add a minute.
Game Reports: What Hosts Get Afterwards
After you host a kit that you own, Gimkit provides a report with class and individual data. Click View Report when the game ends (lower left for 2D games, upper right for non-2D), or open the Reports tab on your dashboard later. Reports can be viewed as a Student Overview, a General Overview or a Question Breakdown, and they can be saved as a PDF. Hosting a kit that belongs to someone else does not produce a report for you, according to the help center’s wording that reports follow kits you own.
Common Mistakes When Hosting a Gimkit Game
Most hosting problems come from three habits. Teachers sometimes pick a mode that is locked behind Pro and then find only five players can join. Others forget to confirm a mode’s player cap before running a 2D game with a large class. And some leave join-late switched on when a few students keep dropping in and out mid-game. Checking the Mode Picker labels and the options screen before you click Continue avoids most of this.
Conclusion
Hosting on Gimkit is a short process: choose a kit, choose a mode, set the options, share the code and start. The parts that deserve attention are the ones around it, such as the official 500-player and 60-player 2D limits, the three rotating free modes on Basic, and the report you receive afterwards. Where official and third-party sources disagree, as they do on player caps, the safer course is to follow Gimkit’s help center and test your setup before class.
